
When creating a multi-part 3D print there are a number of common ways to join the pieces, for something designed to be semi permanently fixed but still openable we can embed threaded inserts in the print.
It ends up looking something like this:-

You can then use a regular bolt to attach whatever is required to your print.

(This won’t hold well on a standard benchy make sure the part you’re inserting the thread into is not hollow when designing and printing it)
Requirements:
To achieve this, you’ll need the items from this list (if you’re missing anything the purchase links are adjacent):
- Heat inset soldering iron tips: https://amzn.to/4agpnWy
- A compatible soldering Iron: https://amzn.to/41i2Y78
- The inserts themselves (M3 size in this example): https://amzn.to/3Noxuqn
- Suitable bolts: https://amzn.to/473vwms
How to install the tips:
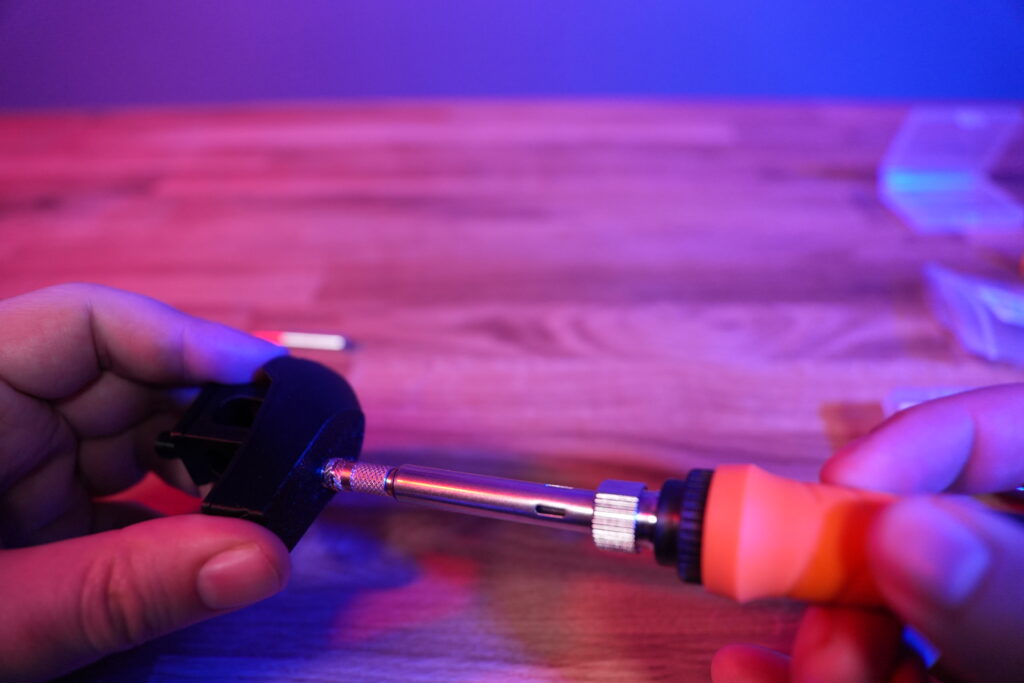
Remove the end of your soldiering iron:

Remove the existing tip
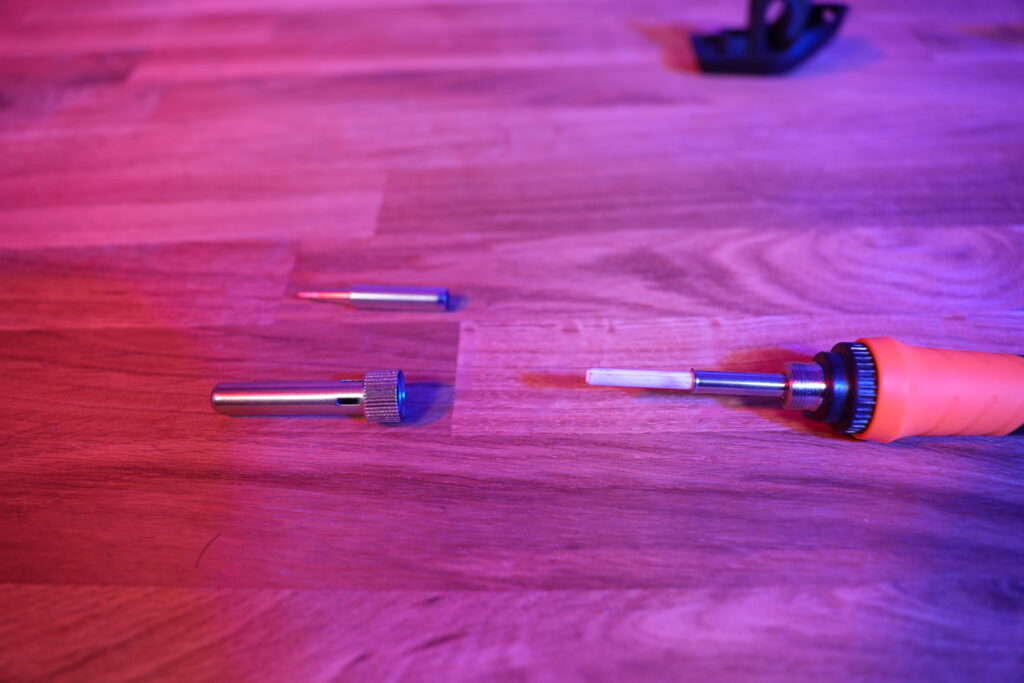
Install the tip from the heat set insert kit
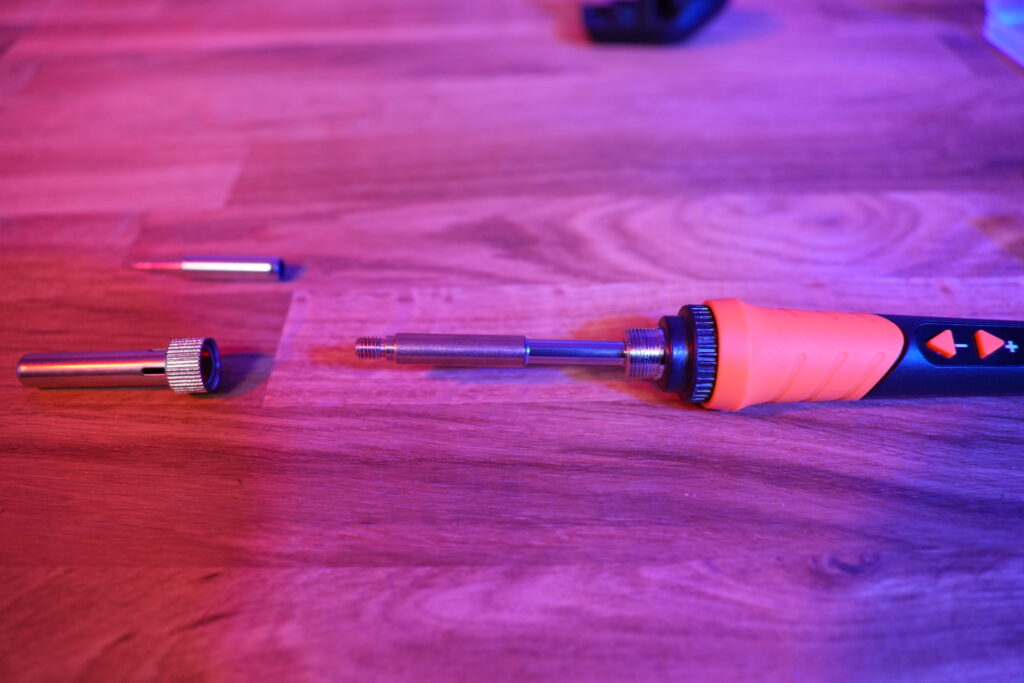
Reinstall the end of the soldering iron:
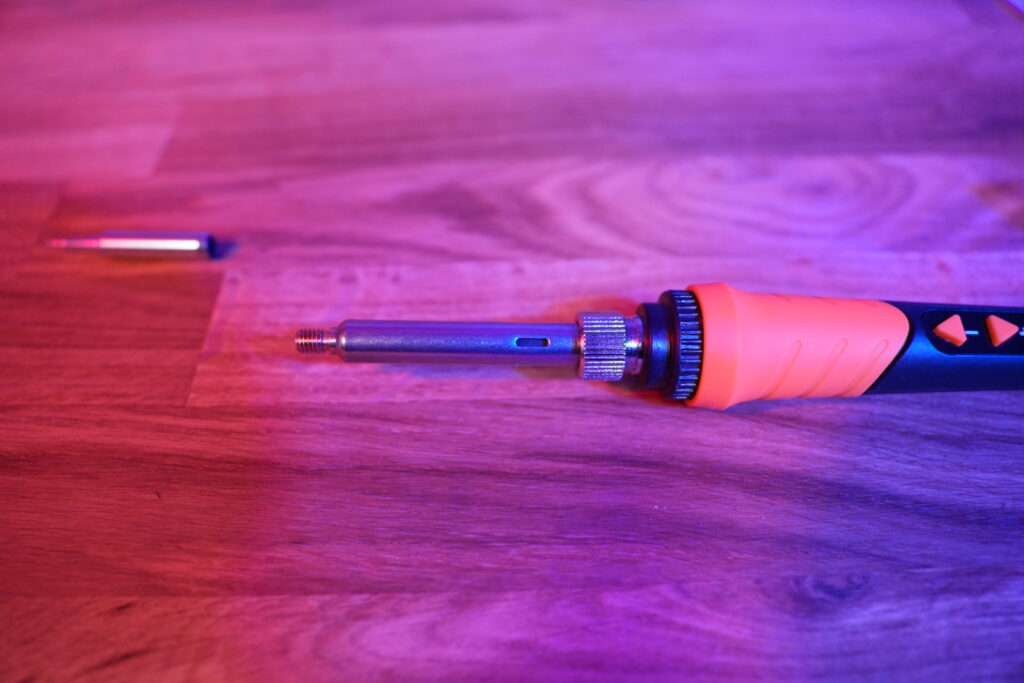
Finally screw on the correct tip size:
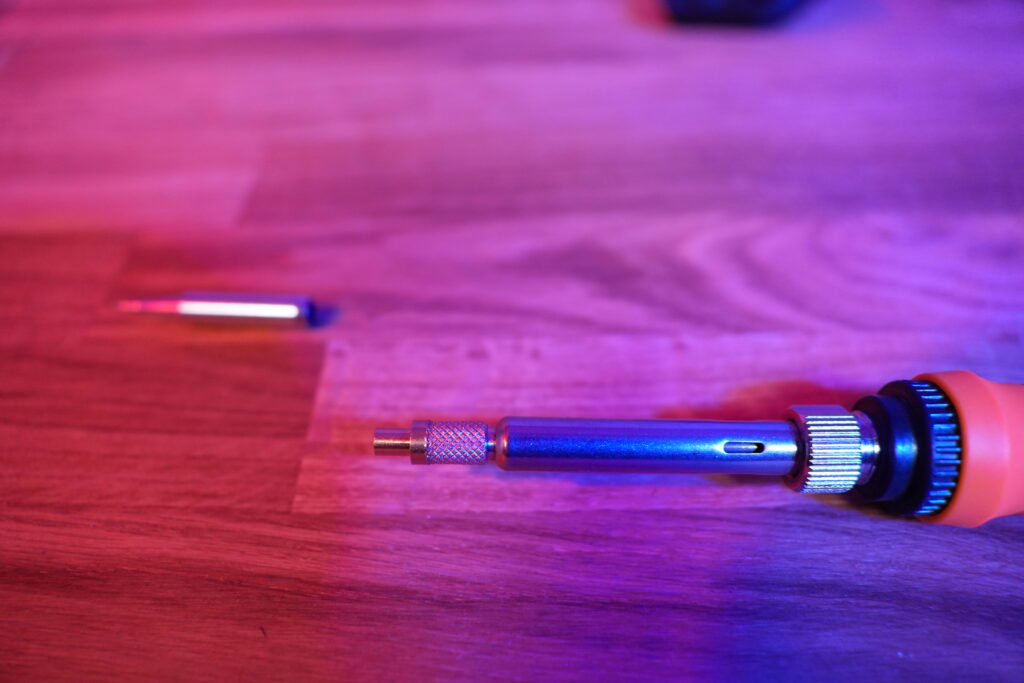
That’s it, you’re ready to insert a thread to your already prepared 3D print.
The Process
You’ve already done the hard part, gathering all the required items, and getting your soldering iron ready.
Before you start make sure you take all sensible precautions, don’t touch the hot parts (including the tips and iron), and ventilate the area well.
Firstly decide where the thread should be installed, place the thread on your soldering iron, set the temperature high enough to melt the filament used to print the part, and slowly press the thread in until it’s flush with the surface.
That’s it, if it’s all gone well then it should look something like this: